


How to Install eMule
Learn to install and set up eMule following this step by step guide


In order to follow this guide you will need to download eMule. Please click the green button below.
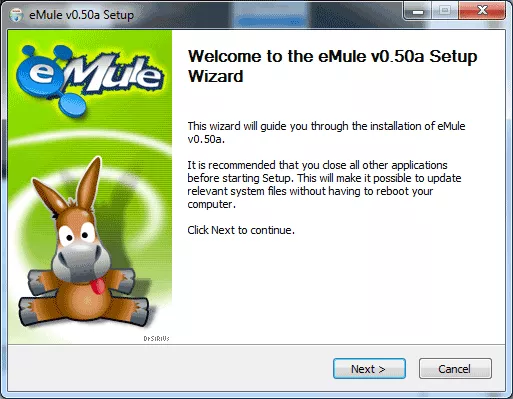
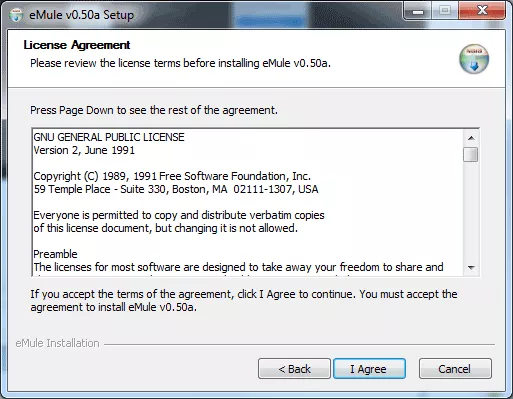
eMule is one of the most famous P2P downloads programs. For starting the installation we need to run the downloaded file and then the installation process will start automatically. First of all we have to choose the installation language and after that the program will take us to starting window with terms and conditions agreement window:

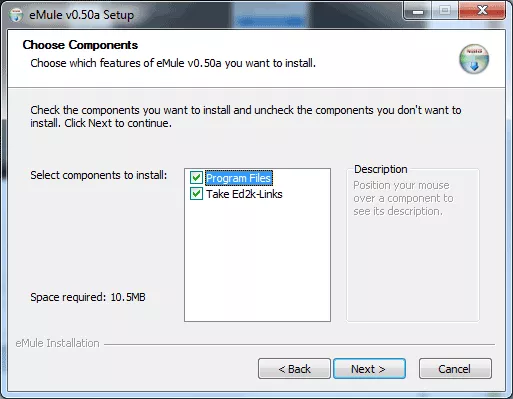
Now we can choose the components we want to install: the program itself and eD2k-links capture function which will let us add downloads from web by opening links of this kind.
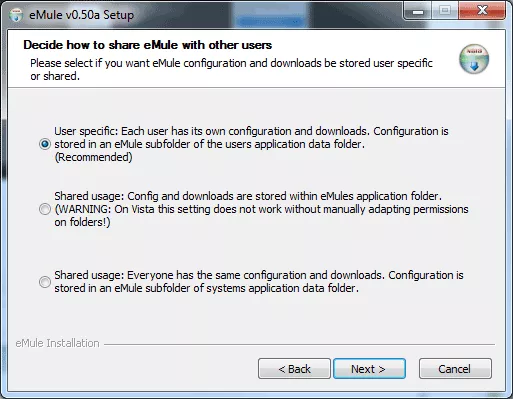
After that, we will want to decide how to share eMule with other users. We can either keep a specific configuration for each user or share it with all users.
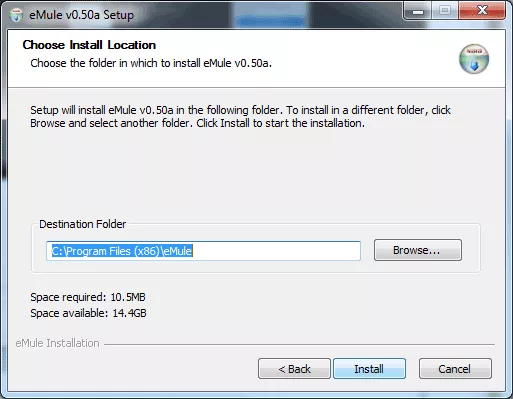
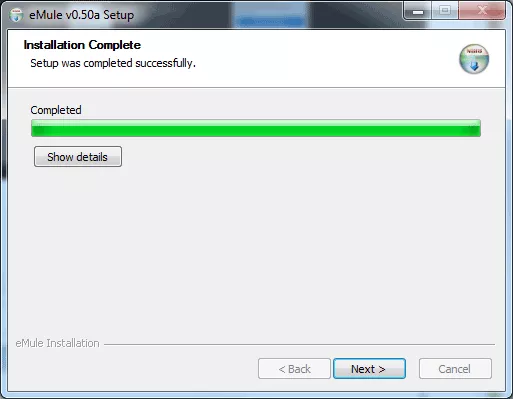
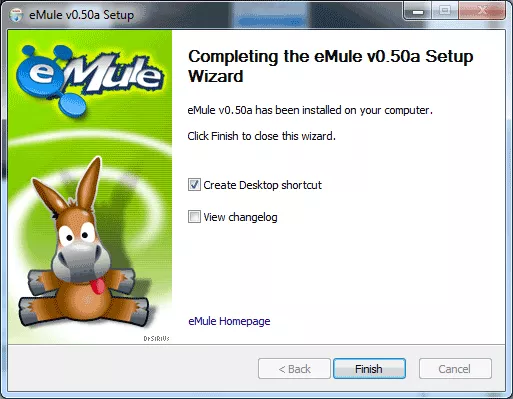
And finally, we will need to choose the location where we want to have eMule installed as well as choose to create a desktop shortcut for being able to easily access the program. This is the last step of eMule installation.
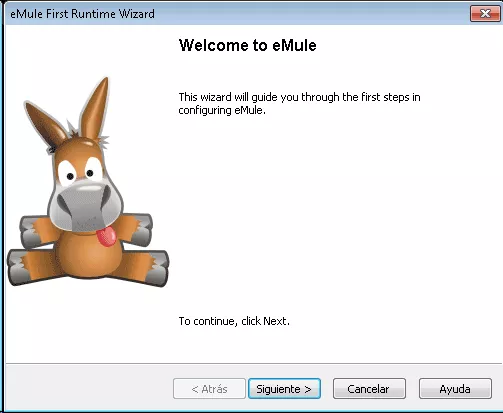
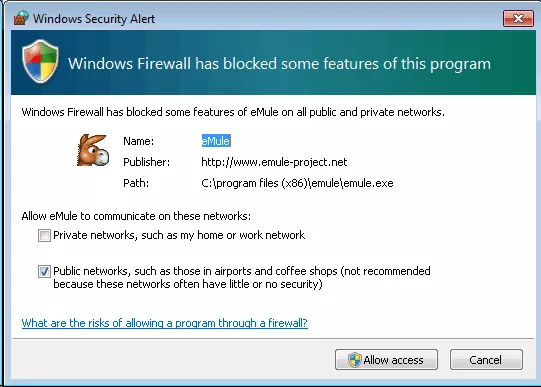
Now we are going to see how to configure emule correctly to be able to download files from the web. For this purpose there is a configuration assistant which will guide us step by step through the most important aspects of eMule setup. Right after starting this assistant a Windows Firewall alert window will pop up, or from other kind of firewall we are using at the moment. We have to let firewall permit all eMule connections for it to work correctly.
When we give all the permissions, the eMule First Runtime Wizard will guide us through all the necessary configuration steps.
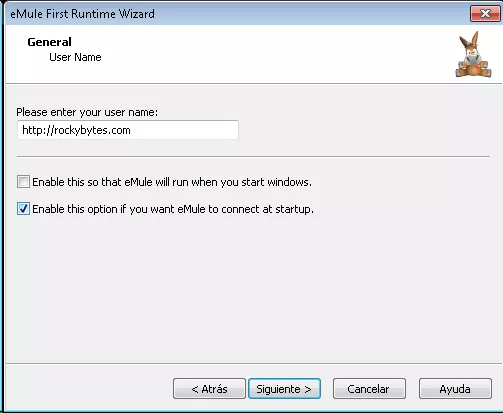
The first thing we will have to do is enter a username that we are going to use in eMule as well as the behavior of the program on system startup and its automatic connection.
Now we are going to get to one of the most important aspects of setting this program up: the configuration of ports and connections. Here we have to choose TCP and UDP ports. The ports we select must be open and allow connections from our router or cable modem. For that, we need to see the configuration of these devices. For checking that the program got the right connection we will want to click “Test Ports” button and eMule web will make a test of our computer to see in selected TCP and UDP ports are available.

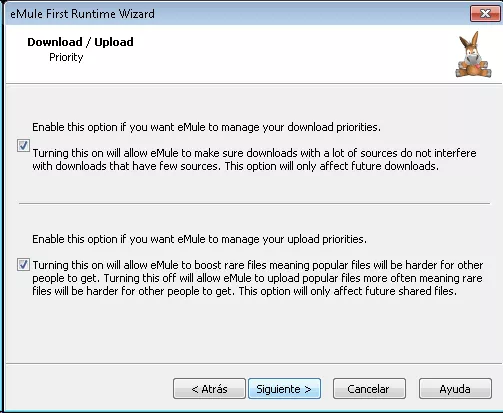
The next step is about configuring how eMule manages download and upload priorities. This will affect the distribution of bandwidth depending on the sources of the file that is being downloaded or shared. We have to take into account that with eMule the more we share our files with other users the faster download speed will be.
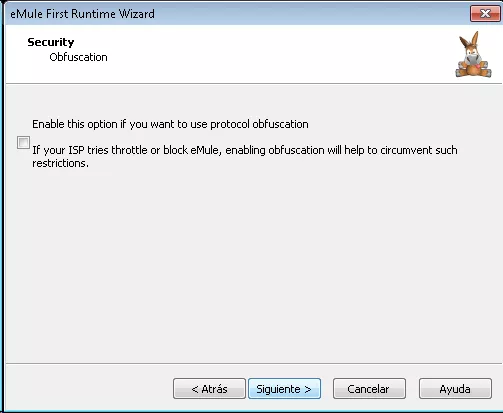
For avoiding that ISP companies limit P2P download connections we can enable obfuscation option for these companies not to be able to detect that we are using P2P networks.
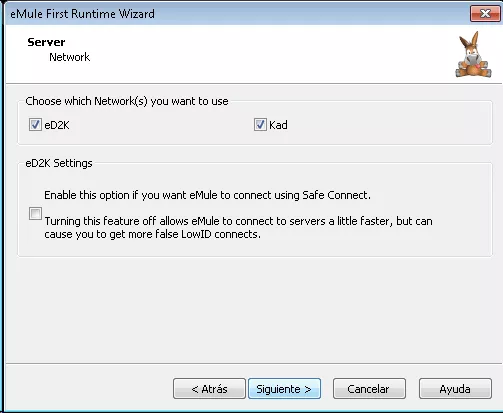
And finally, we can choose networks we want eMule to use. By default we may leave eD2K and Kad networks active. Apart from that, we can choose Safe Connect option for higher data protection, but it will slightly affect connection speed.

eMule Tutorial
Discover how to use eMule to download any content with this easy tutorial
eMule is a P2P client that uses Kad and Edonkey networks. An example of another similar program that uses different networks is uTorrent. After its installation and initial configuration here is what we will see when ...